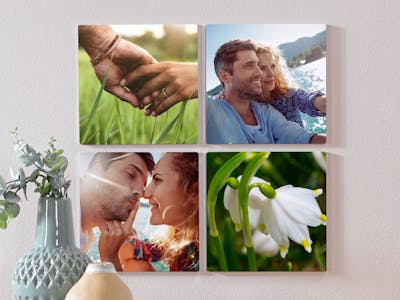
Looking for a creative wall decoration with personalised wall art? Design yours with your own photography here, at Pixum!
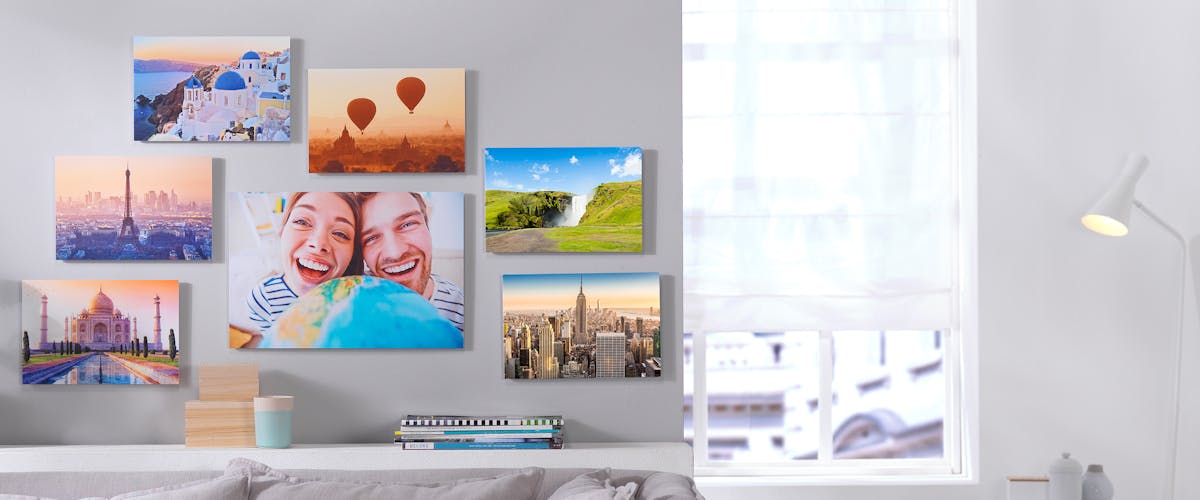
Create beautiful picture wall with memories worth printing.
Your own multi-piece wall art from Pixum is just a few clicks away!
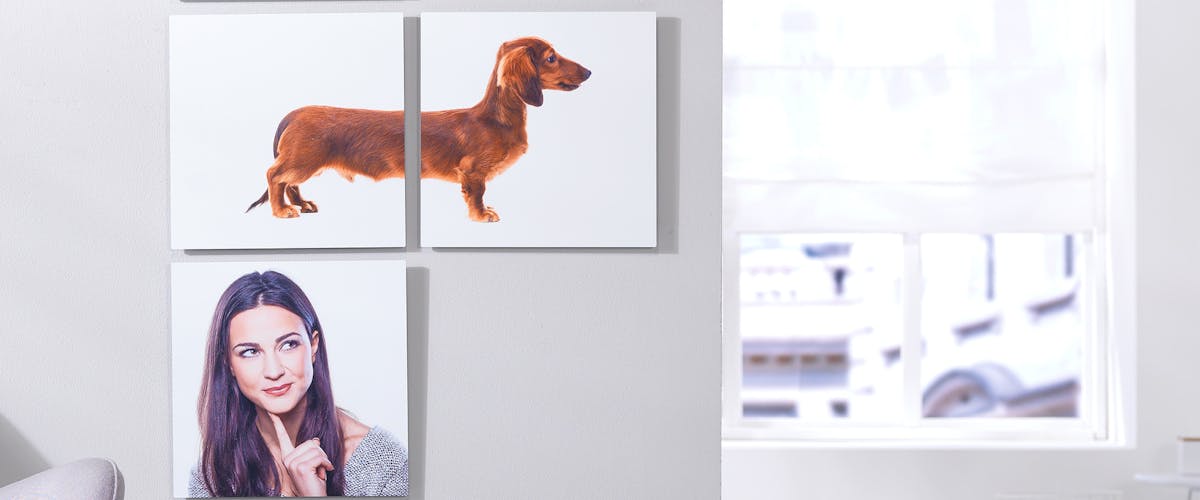
Splitting a photo into three or four parts to print these as your wall decoration is easier than you might think. If the variety of sizes and formats available at Pixum are not enough for you, and if you'd like to create a multi-piece Pixum Wall Art, then you only need a photo-processing program that separates your photos into three or four equal-sized parts. Order these separate parts as single canvas prints (or other materials) and arrange your home gallery wall true to your taste. Find out how it works with the help of a free image processing program, IrfanView.
How-to: split Wall Art. A quick summary
There are only 5 steps to turn your own photo into a multi-part photo collection:
- download and install IrfanView
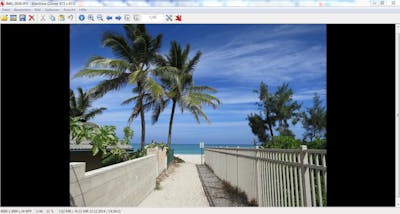
- import the photo into IrfanView via "File" > "Open" in the upper-left corner and navigate to "Options" > "Export image tiles (split image)..."
- now, set the number of single parts in the "Columns" and "Rows" area. If you are looking for a 3-piece wall art in a landscape size, enter [3 columns and 1 row]
- choose the destination directory and the image file (we recommend JPEG or PNG) and click on "Start" to proceed with the splitting
- upload the saved image parts to the Pixum Online Designer (you can also do that in the Pixum Photo World software on your computer or on the mobile app) and select the matching material (e.g. canvas print) and size for your new Wall Art
- add a mounting kit if necessary, add the part 1 into the shopping basket and load the Online Designer again to proceed with parts 2 and 3
- order your 3-piece Wall Art and get ready to arrange your new picture wall just in a few days!
Which photo split in how many parts works best?
The amount of single parts for your split Wall Art also strongly depends on the original format (landscape or portrait) and the aspect ratio of the original photo. Here are some examples:
- a photo taken in a 2:1 size (a kind of panoramic shot most smartphones take) can be divided into three panoramic wall prints 120×20 cm each, instead of a single 120×60 cm Acrylic Print
- a picture taken in a 4:3 size (as with most digital cameras) can be divided up into 9 prints 40×30 cm each piece, or 4 wall prints 60×45 cm each instead of ordering one large Wall Art piece in 120×90 cm
Selecting a matching image
During the printing process, a few millimetres of the picture itself might get lost due to the manufacturing tolerances. Therefore, when creating multi-piece Wall Art, please make sure that no important parts of the photo such as faces or text areas are too close to the edges of the future print.
Mounting a Canvas Print onto the wooden frame takes 3 to 4 centimetres off the visible image area. Therefore, multi-part canvas prints can only be made of an image that can be divided in such a way that nothing essential gets lost (e.g. with landscape pictures).
| Material | Format | Price | Design directly online |
|---|---|---|---|
| Canvas Print | 40x60 cm | starting at £44,99 | Create a Canvas Print now » |
| Gallery Print | 30x20 cm | starting at £34,99 | To the Gallery Prints » |
| Acrylic Print | 30x20 cm | starting at £23,99 | Create a Acrylic Print now » |
| Forex Print | 40x60 cm | starting at £33,99 | Create a Forex Print now » |
Other important things to keep in mind
- Material: a very important question is, which material suits your purpose most. Due to the manufacturing tolerance, a few millimetres of the print might get cut off while we process your photos to wall prints. Alu-Dibond (Aluminium Print), Forex (foam board print) and Acrylic Print as well as Gallery Print are ideal as multi-piece Wall Art. Canvas Prints are a difficult choice: here, a few centimetres of the printed canvas sheet will be taken for the mounting on the wooden frame. If you'd still like to stick to canvas, how about making a picture wall of several single Canvas Prints with pictures that have the same theme (Spanish cuisine or macro shots of your garden roses)?
- Size: picking the proper size for your 3-piece wall picture, consider the distance between the single parts of the picture between each other. Choose a smaller size to make sure it fits on the spot you plan decorating it with
- Wall Mounting: if only want to see the pictures and not the wall mount, choose Railing System. A metal frame will be mounted to the back of each wall print, which will allow you to place your three-part artwork at a variable distance from each other. The other kits are a Screw Set (with 4 pre-drilled holes on the print) or a Clamp System - both have the silver metal pieces that will be mounted in or to the edges of the wall print. Please note, that the available mounting options depend on the size and total weight of the future print
Something different
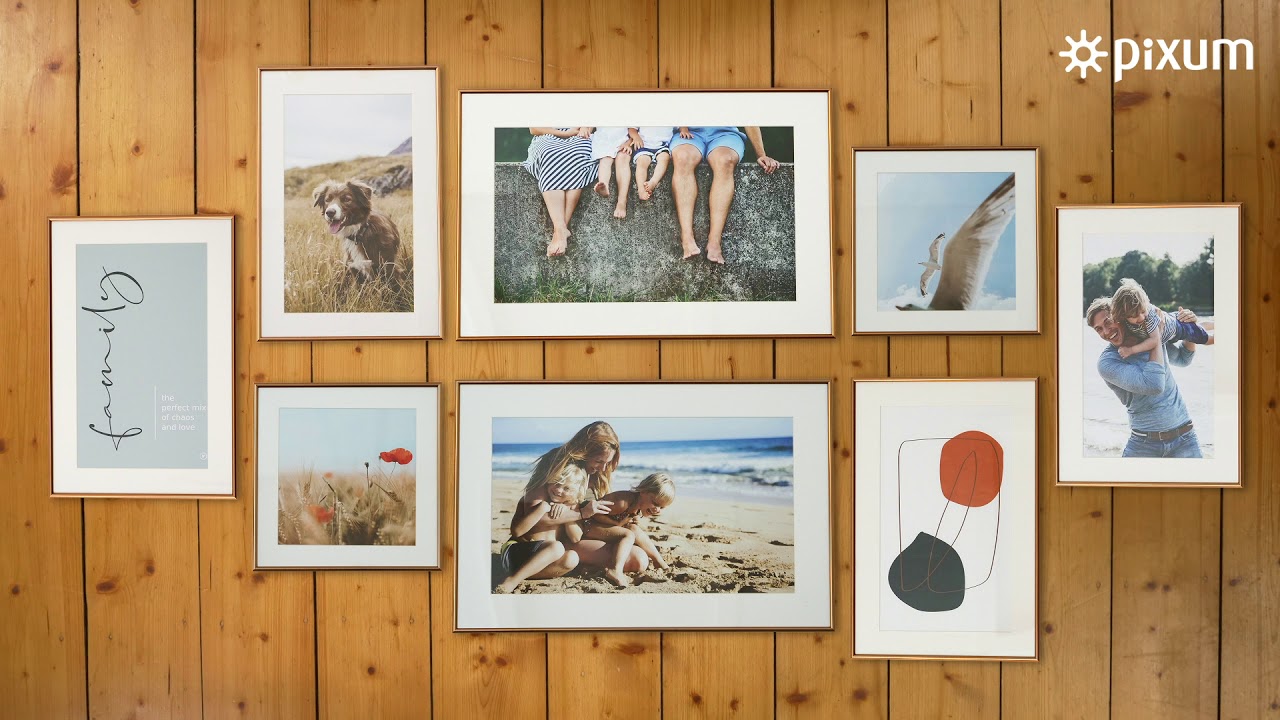
How about creating a photo collage on your walls with several prints? Make sure, the chosen images have something in common. This can either be the theme of the photos, such as your favourite beach photos from the last holidays or lovely snaps of your pet in the park. These also can be several family portraits printed in sepia or black-and-white. This way, you only need to pick the shots and set the size of the overall composition to order several single prints here, at Pixum.
Finding the distance between the images
Before you start making your 3-piece wall art, check the overall size of the composition and consider calculating the average distance between the single pieces. This small but ultimately very important detail is often forgotten. The distance between the prints that you plan on hanging on the wall have to be well-thought-out. It might be best to opt for a slightly smaller wall art so that the three pieces can surely fit the spot you want to decorate in the room. There is no perfect figure to that - the distance can vary according to the overall size of the wall and the size of the single prints hanging next to each other. But 3 Wall Art pieces hanging next to each other with no gap in between make the whole room look smaller. Otherwise, why splitting the picture at all?
Sizes & prices
How Much Does My Wall Art Cost?
Use our price calculator to get the best price-performance ratio for your new Wall Art:
Maximise the power of your photos
An overview of the steps for creating your multi-piece wall art
In short, you need follow these five steps to create your multi-piece wall art.
- Download and install IrfanView (if you haven't got it already).
- Import the picture and select the piece under Options Extract Image Parts / Tiles.
- Import the saved image parts into the Pixum photo world software and then select the material (watch out for the cutting!) and the correct size.
- Select your preferred wall mounting and repeat the steps for each piece of the wall art.
- Order your beautiful collection by clicking on "Buy now".
Some things to consider when selecting images
As we've mentioned before, when editing your photos to create a wall art, there may be a small trimming on the sides. This means that a few millimetres of the image could be lost! Therefore, when creating your multi-piece wall art, take care to ensure that important parts of the image are not in direct vicinity of the trimming.
The 4 cm thick frame is also printed on the screens, which means that this area of each picture is also lost. For this reason, the large canvases are suitable as a multi-piece wall art. If you pay careful attention to these points, your own piece will still look great and you can look forward to hanging your new creation on the wall within a few days.
